
Windows uses a startup delay timer to allow some apps/services to load up during the boot process. But, this startup delay can be huge if the user have allowed any third-party apps to boot during the same period. So, if you feel Windows is taking too much time to boot up, you can use a simple registry trick to revise the startup delay of the system.
How to speed up your Windows 11 booting process?
You can use this small hack to turn off the startup delay completely.
Using registry editor, you have to just change a value and boot your system way faster than before.
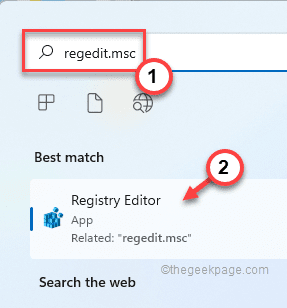
1.Just search “regedit” from the search box on your system.
2. After that, tap “Registry Editor” to open it.
Warning – You have to modify a certain value in your registry. Now, there’s a chance this may start to backup –
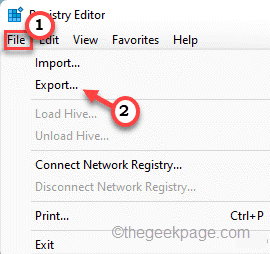
a. At first, click on the “File” option.
b. After that, tap “Export…” to create a new registry backup on your system.
Just name this backup and save it somewhere safe on your system.
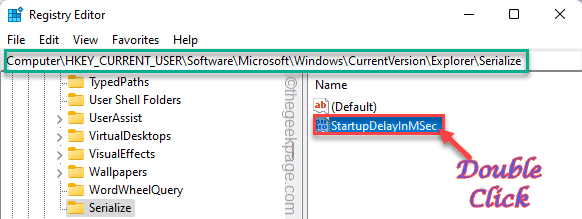
3. When the Registry Editor window, just move this way –
HKEY_CURRENT_USER/Software/Microsoft/Windows/CurrentVersion/Explorer/Serialize
Now, most of you should see the “Serialize” key on the left pane. But, what if you don’t?
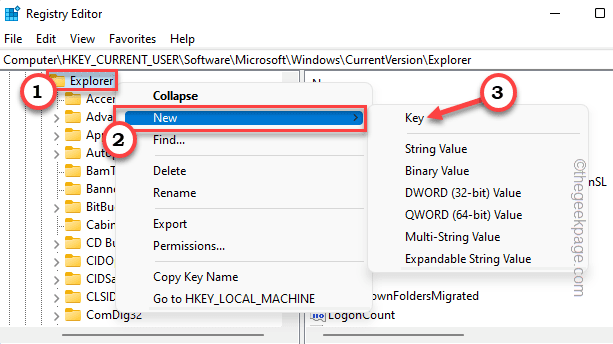
4. Just right-tap “Explorer” and click on “New>” and click on “Key“.
5. Name the key as “Serialize“.
6. Now, while you have selected the “Serialize” key, right-click on the space on the right-hand side.
7. Then, tap “New>” and click on “DWORD (32-bit) Value“.
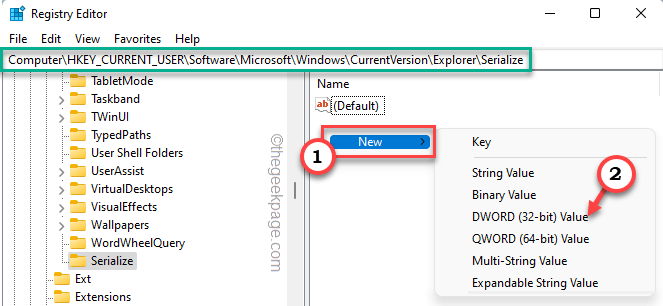
8. Set the name of the value to “StartupDelayInMSec“.
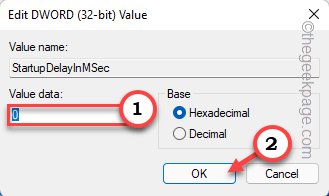
9. Just double-tap the value to set a new value for it.
10. Now, simply set the value to “0“.
11. Finally, tap “OK” to save the changes.
Once you have changed the value, close the Registry Editor. Now, all you have to do is to reboot your computer once. When the system starts up again, test the booting time.
That’s it! This is the way, you can easily disable the system startup delay feature and fix the issue once and for all.
NOTE –
Startup Delay, as the name suggests, allows some time to some of the essential services to startup with the system itself. Now, if you turn off the system delay completely, that may cause some bugs or glitches for some users.
In case, if you face any bugs and glitches, just follow these steps to reset all the settings back to it’s place.
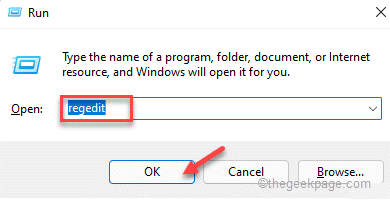
1. You need to access the Run terminal.
2. You have to press the Windows key+R keys together.
3. Then, type “regedit” and click on “OK” to access the Registry Editor.
4. Once the Registry Editor screen appears, proceed this way, following the left-hand pane –
HKEY_CURRENT_USER/Software/Microsoft/Windows/CurrentVersion/Explorer/Serialize
5. Now, all you have to do is to right-tap on the “StartupDelayInMSec” value and tap “Delete“.
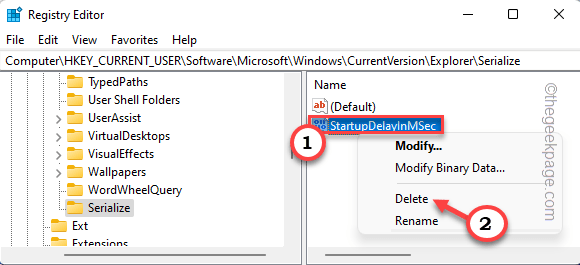
6. Finally, tap “Yes” to remove the value completely from your system.

Once you have removed this value, close the screen and reboot your machine to complete the process.
This should reset the startup delay settings to default settings.
